How do I create a Group of Playlists?
Playlist Groups in Livesignage allow you to organize and manage multiple playlists efficiently. By grouping playlists, you can streamline scheduling, apply consistent settings, and simplify content management across various displays.
Creating a Playlist Group
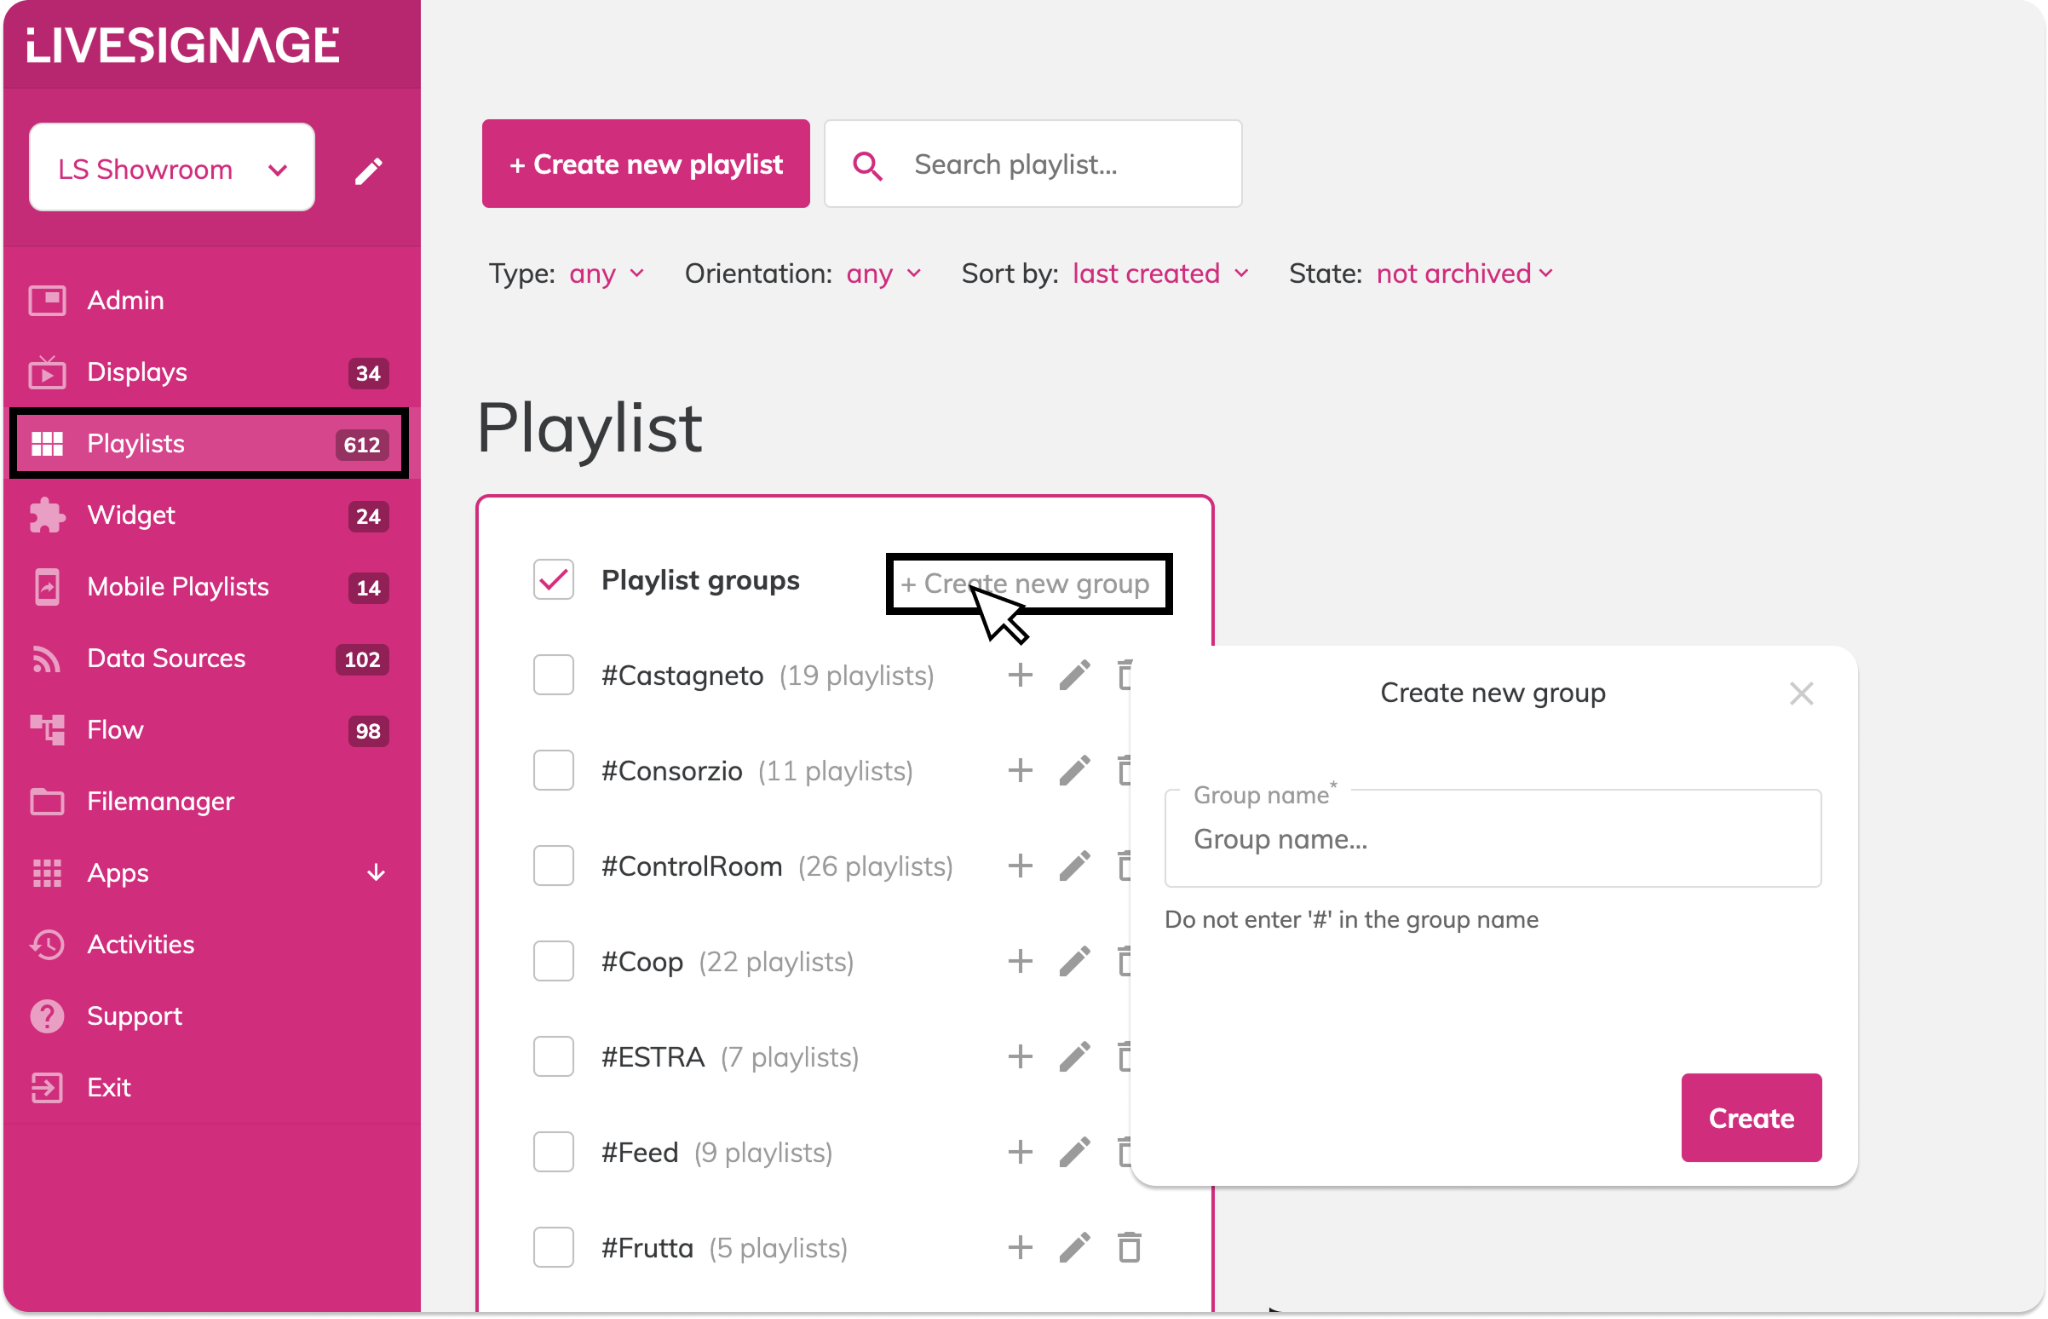
- Navigate to the Playlists section from the main menu.
- Click on + Add Group.
- Enter a Group Name that reflects the content or purpose of the group.
- Click Create to establish the new playlist group.
Adding Playlists to a Group
To assign one or more playlists to a group:
- Go to the Playlists section in the left menu.
- Use the checkboxes to select one or more playlists you want to group.
- In the sidebar on the left, click on the Update group.
- The selected playlists will now be added to that group.
Managing Playlist Groups
- Add Playlist: Add one or more playlists by selecting them
- Rename a Group: Edit group’s names.
- Delete a Group: Click on the trash icon
Deleting a group does not delete the playlists within it; they will remain in the ungrouped section.