How do I add a new display?
The Display section lets you add, organize, and control all the screens connected to Livesignage..
Here, you can monitor each display’s status, schedule content, perform remote actions, and create groups for better organization.
Adding a New Display
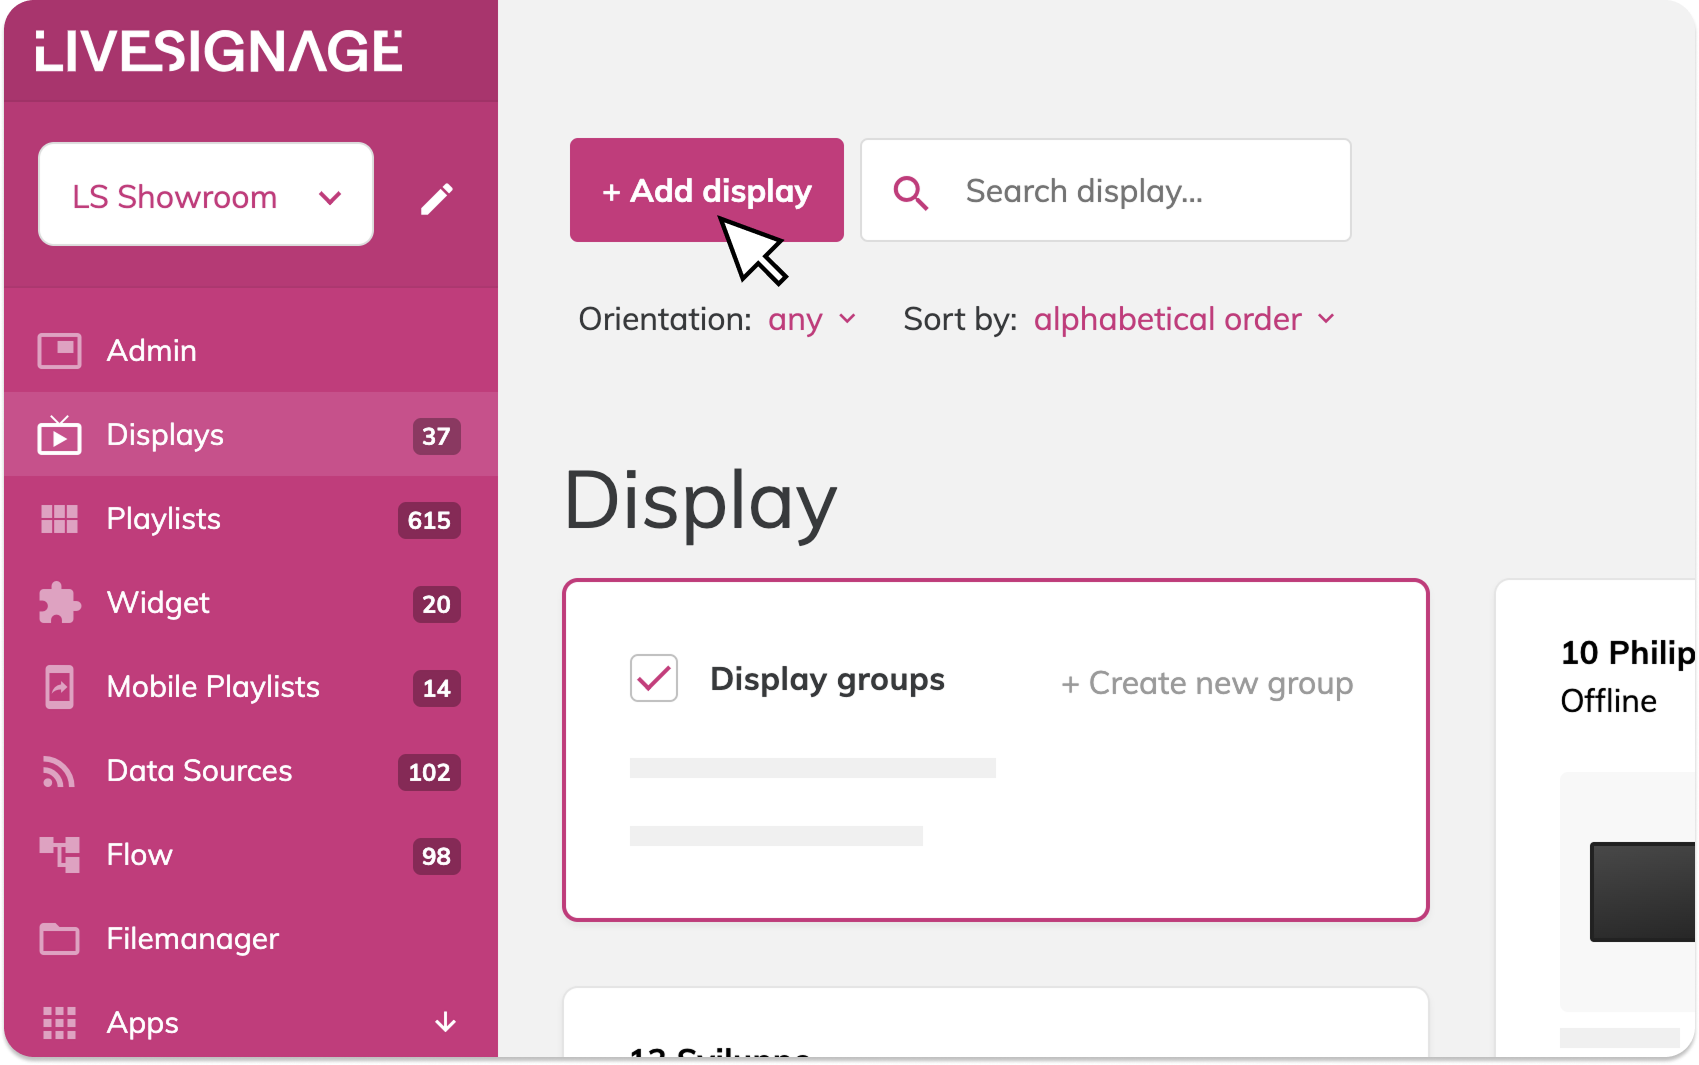
To add a new screen to Livesignage:
- Go to the Display section from the main menu
- Click on “+ Add Display” (top left)
This will open the configuration screen where you can enter:
Identification
- Display Code: A unique code generated during the app installation process on the device
- Platform: Choose the manufacturer or brand of the display where Livesignage is installed: Android, BrightSign, ChromeOS, LG webOS, Philips Android

You can click “Installation Guide” for platform-specific instructions or check this article for setup steps and system requirements
Display Settings
- Display name (e.g. “Shop Window – Milan”)
- Location (optional – helps identify the physical position)
- Time zone
You can update these settings at any time.
Orientation & Resolution
- Orientation: Choose vertical or horizontal, depending on how the display is mounted
- Resolution:
– Standard (Full HD or 4K) for most screens
– Custom, if you're using special formats like LED walls or art walls
Once completed, click Next to schedule content or configure advanced settings.