Display Samsung Tizen 6.5 and 7.0
When you turn on the display for the first time, the guided setup will begin to help you configure the main settings.
Follow each step as described in the guide.
Language
Select the language "English" and press Next > on your remote control.
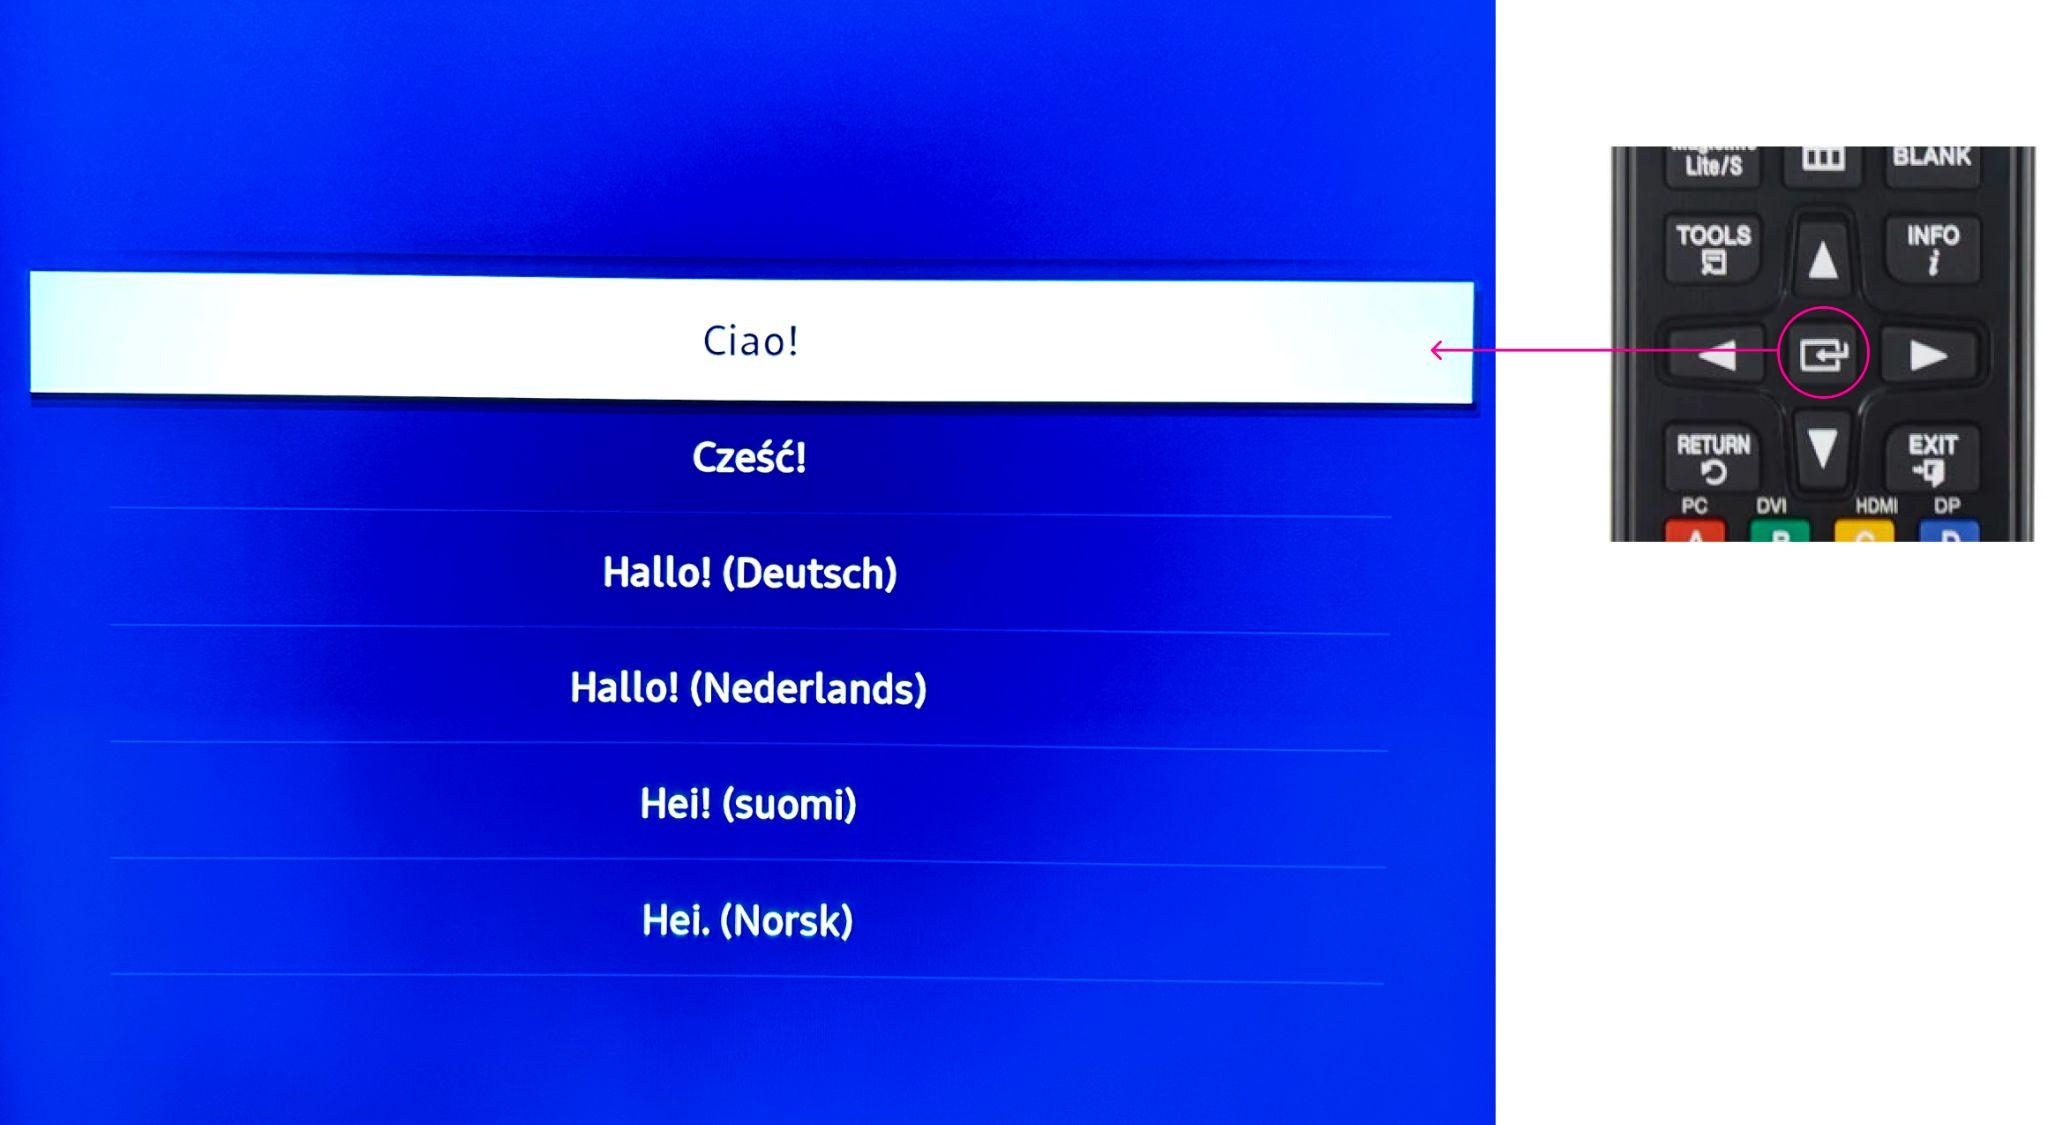
Setup
Wireless connection
Connect to your network.
If you have a Wi-Fi network, select an option from the list.
Otherwise, plug in the cable to the display and select "Use WPS".
Enter the password and click Go
Privacy Policy
Read the policies and click Skip.
Display orientation
Select your preferred orientation and press Next >
Select player
Select the "Custom Application" option.
Enter the URL:
Enter the URL:
https://myls.io/tizen7
Press Go, then select Next >
Connect to the RM server
Select the "Skip" option and press Next >
Auto Power Off
Select the "Off" option and press Next >
Set Time
Enter the correct date and time, then press Next >
Set a PIN
Set a security PIN or skip this step to use the default PIN (0000), then press Next >
Completed
Press Home to proceed with the installation of Livesignage.
Install Livesignage
Download the app
Select the first icon with the Livesignage logo, then press OK to start the installation.
Installation
The installation will start automatically once the download is complete. Once finished, you will see the Livesignage logo on your display.
Connecting the display to Livesignage
After a few seconds, a numeric code will appear on the display.